
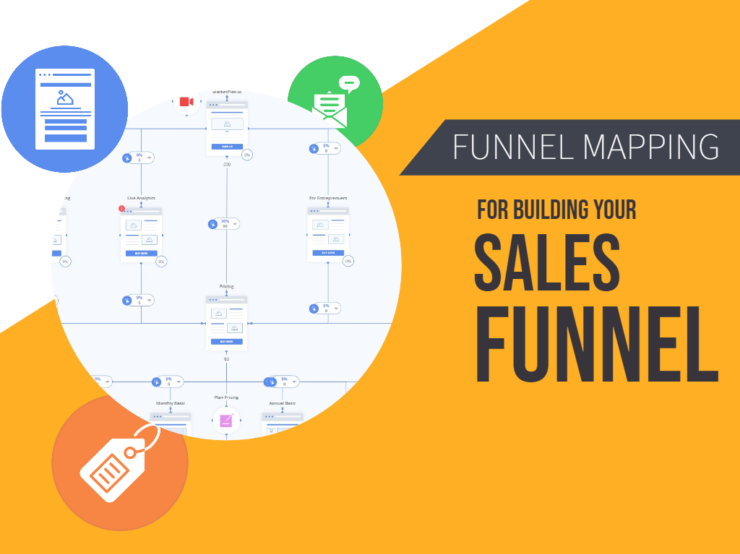
Basic Funnel Mapping
Welcome To The Canvas
Welcome to MarketPlan canvas. This is the place where you can make your Big Ideas come to life, plan out your marketing strategy, collaborate in real time with your team, forecast and live optimize each of your campaigns.
Let's go over the basics of funnel mapping so that you can easily get started populating your canvas with your plan.
Mapping
The first time you enter into the mapping canvas, you will see that the toggle box on the top right is set to "Plan". This means that everything you do inside of the canvas is geared toward the mapping out, planning, collaboration and forecasting side of MarketPlan.
All of the components you will need to build out your plan are found as you click each category of the toolbox located on the top left of your screen.
The categories are divided into marketing strategy groups and we suggest that you start from the top down as you map out your pages, traffic, actions and automations, and finally any miscellaneous pieces that are needed along the way.
Pages
Now jump right in and begin dragging a few pages onto the canvas that best fit your big idea and match the strategy you currently have in mind. This may change as you go but that is the best thing about live mapping, you can see and Identify the bottlenecks even before you start creating assets.
Spacing
Make sure to space your pages out to allow enough room for the conversion elements to display in a pleasing way as you begin connecting them as well as some space for your entry point, traffic and campaign elements. Each page and element will snap into perfect alignment so that you can move as fast as you can think. This is also really dynamic when you are live pitching strategies over video chat to your clients or team.
You can map Horizontally or vertically depending on your preference. Let's build out a vertical plan for our example here.
Campaign Apps
Once you've mapped out your pages begin considering and dragging your traffic plan in place. Think through the type of entry points you would like to have that fit your product, niche or service best. Remember, just like pages, these are not just representations you are dragging on to your plan. These are full collaboration canvas apps made for marketers, that allow you to manage your projects and live collaborate on your marketing assets.
Actions
Now finish up your plan with some actions to remind you, your clients and team about any actions and automations that are needed to make this work. Add a wait timer and a tag micro app onto the canvas and use the tag app to show the lists or tags you plan to add prospects once they purchase. Set and place your wait time element into your canvas as needed as well.
More Tools
Finally add a notes app and a sticky note from the more tools to the canvas and place these in the areas you will use them.
Connections
Now start connecting your funnel and going visually through each piece of the customer journey. Think of your lead or customers experience as you connect each piece.
For example: Here I have a confirmation page after each lead signs up. I need an email sequence canvas app to go here to get the leads into my sales page from emails sent after they sign up. This is the flow that will help me in the optimization stage to track the conversion rate of each email once this campaign is live.
Now let's talk about Connection Logic Hover over the four connection ports on each element to begin drawing connections between two elements on the canvas. Once you have hovered you are presented with three options. 1. Neutral 2. Yes 3. No. Click on either and drag to establish the connection logic.
- The Neutral Connection is the standard way to connect elements. This means that the connection is not decision based but that traffic and/or automation will be passing through.
- The Yes Connection signifies a decision to take the most desirable path in your campaign. Example: If my prospect says Yes to my Upsell, I will rout them straight to my Confirmation Page.
- The No Connection signifies a decision to take the undesirable path in your campaign. Example: If my prospect says No to my Upsell, I will rout them to a Downsell page before sending them to my Confirmation Page.
Once you have established a connection you will see a conversion element show up in between the connection. I can hide these by toggling the mode switch to Off.
Off Mode will display your connections only and not traffic or projection data.
Traffic Elements
Back in Plan Mode we can begin establishing our traffic flow from Clicks to Visitors, Visitors to Leads and Leads to Sales and Customers. I can toggle the conversion type by clicking the dropdown arrow on the right of the conversion element. Here are the conversion types.
- Visitors: This displays the amount or percentage of traffic conversion from and to an element and will measure a general flow of visitor traffic from point A to point B.
- Leads: This displays the amount or percentage of leads collected from and to an element and will measure a general flow of lead traffic from point A to point B.
- Sales: This displays the amount or percentage of sales collected from and to an element and will measure a general flow of sales from point A to point B.
- Leads & Sales: This displays the amount or percentage of sales that also become leads at the point of sale collected from and to an element and will measure a general flow of sales that also become leads at the point of sale from point A to point B.
Connection Types work for both Projections and Live Analytics. This allows unprecedented control as you map non linear journeys through your campaigns and funnels.
Line Management
To keep your map looking neat and tidy, MarketPlan enables precision line management. This will make your maps easy to understand for your clients and team regardless of how complicated the campaign may be.
When first drawing a connection you are given a very smooth equidistant curved line that is good for most mapping situations. This can get messy though as your map begins getting more complex.
By hovering over the conversion element you will see a few controls pop up.
- Line Type: You can select between a curve line or a three point line.
- Line Decoration: You can select for the line to be either solid or dashed. This is normally but not limited to showing automations that are not traffic based like Tags or Confirmation emails etc.
- Delete Line: You can delete this connection. The great this about this is you can always re-establish this connection as it is non destructive, even for live analytics.
3 Point Lines When you select the three point line you can now begin moving it as you please.
When straightened, the line will snap to create a perfect right angle connection.
You can also drag this as far up, down, left and right and you would like.
To recenter the line, just double click one of the toggles and it will snap to the 50% point between the connected elements. This is very useful when mapping out your plan in front of your potential clients, live.
Mini-Map
As your plan grows, you need to be able to jump from area to area as you collaborate, present, forecast and analyze effectively. You can turn on the mini map for your plan on by clicking the menu button on the top right of your screen and then clicking on the Canvas Settings Area.
Now toggle the mini map to the on position. Now just click on the canvas to shift the menu out of the way. and you will see your mini map on the top right of your canvas.
You can navigate very quickly on the canvas by clicking anywhere on the mini map. This will save a lot of time when discussing each piece of the flow behind your campaign.
Snapping
Each plan you create has snapping on by default. This will allow elements to snap to the twelve adjacent grid lines of other elements on the canvas. These lines help you get your map perfectly in line and are critical when presenting your strategy live in front of your team or clients.
As you drag a page or element you will see it begin to display and snap into place. Once you release your mouse it will position the element perfectly in line for quick and precise movement while mapping.
You can turn on snapping off for your plan on by clicking the menu button on the top right of your screen and then clicking on the Canvas Settings Area. Now toggle snapping to the off position.
Grid
While Snapping can help in most mapping situations, you may need to get even more precise when you are looking for a perfectly spaced canvas map.
You can turn on the grid for your plan on by clicking the menu button on the top right of your screen and then clicking on the Canvas Settings Area. Now toggle Grid to the On position. You can also adjust the size of your Grid with the slider underneath.
Conclusion
You now know everything you need to know to get ideas mapped out into an easy to understand, logical, beautiful campaign. Once you are finished mapping out your well thought out campaign, you can now move to the next stage of your marketing and begin leveraging the collaboration features to start building out your campaign assets and manage productivity.


