
Learning The Canvas
Overview
Now that you know the Basics of mapping, let's get into the different commands and functions you can leverage while inside the canvas.
Modes
On the top right of your screen you will see the mode toggle switch for your plan. At any point, you can switch between these modes to leverage the different features available at each stage of your marketing.
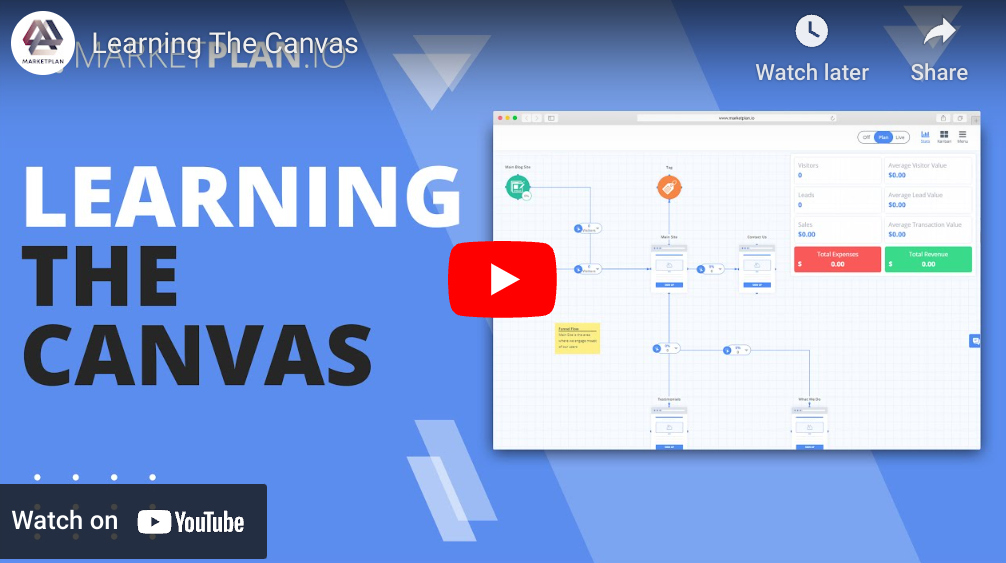
- Off Mode: This mode is for mapping without having to think about your conversion elements, projections or live analytics. This is the most basic view and may help simplify your models for less overwhelm for clients, team members and students.
- Plan Mode: This mode introduces the conversion elements as well as all the projection logic. This is the default mode because you can accomplish a lot in this mode before live analyzing and optimizing your funnel or campaign. You will also be able to Access and collaborate inside of each made for marketing Canvas App in this mode.
- Live Mode: This is the mode for Setting up tracking and measuring your Traffic, Link Clicks, Page Views, ROI, Leads, Sales, Conversion Rates, Traffic Route Stats and much more.
Stats Modal
Next to the Mode Toggle Switch it the Stats Modal. This allows you to view your projection stats as well as your date filterable live campaign stats for your campaign.
Kanban
Next to the Stats Modal Toggle is the Kanban Toggle. This will bring up the Kanban. This is where all your canvas app tasks come together so you can have a global view of your tasks and to do's and manage your team and productivity to get this campaign live.
Menu
The last toggle on the right of your screen is the menu. You can find your notifications, canvas settings, Live Settings, Templates, Export and Sharing options in this menu.
Chat
To chat with your team, just click on the chat icon on the right of your page while in the canvas.
Zooming
On the bottom left of your screen, are your zoom controls. This allows you to zoom in on your map and make the canvas elements larger.
You can also use the + and - keys on your keyboard to zoom in and out quickly.
Help
And on the bottom right there is our help menu for access to our roadmap, tutorials, walkthroughs, feature request and voting area, online chat and more.
Renaming Elements
There are two ways to rename elements on the canvas. The first and most simple is to just click on the name of the element and begin typing. You can also rename many of the canvas apps and pages by clicking the view button which will bring up the corresponding made for marketing canvas app and you can rename it inside there as well.
Custom Page Thumbnails
To customize your canvas even further, you can upload custom thumbnails to your page elements on the canvas. This is great for capturing the attention of your clients. When they are able to see their site on your presentation, it brings a level of personalization that stands out from the noise.
To import your custom thumbnail, right click on the page you desire to update and select Custom Thumbnail from the right click menu. This will bring up the Custom Page Thumbnail Modal. You can either enter the URL of the page you desire to import and click the Grab button or you can upload your own page thumbnail from your local files.
Selections
After clicking an element or group of elements, you can now perform actions like duplicating, saving, deleting and more.
Selecting Elements
Click on an element to select it. You will see a light dashed line around the element or page you have selected.
By holding shift and clicking on multiple elements you can move, duplicate, save and delete groups of elements together.
You can also select a group of elements close together by holding shift, clicking and dragging a selection box around all the elements you desire to move, duplicate, save or delete.
Duplicating Selections
To duplicate elements you can right click on a selection and select Duplicate Selection from the right click menu.
You can also use the Hotkey command to duplicate selections. Here is the hotkey for each platform.
Windows: Ctrl + D Mac: Command + D
Deleting Selections
To delete elements you can right click on a selection and select Delete Selection from the right click menu.
You can also use the Delete key on your keyboard once you have selected the element(s) you would like to delete.
Saving Selections
If you would like to save a selection for use in another plan or project, you can right click the selection and select the save selection option from the right click menu. Then give your selection template a name and click save. This will save everything including tasks, subtasks, custom icons etc.
This is particularly useful for agencies or coaches that need repeatable elements with SOP tasks for new clients or campaigns. Now just build it once and reuse and tweak it whenever you need to.
Loading Selections
To load a prebuilt selection or a previously save selection template, just right click anywhere on the canvas and select the Load Selection option from the right click menu.
This will bring up the selection template modal where you can load popular elements and setups as well as your complete saved selections.
Once you find the selection template you want to use, just click the Load button and then a plus icon will appear. Select where exactly you would like the selection to be dropped into your current map. If you would not like to drop the selection after all, just click the abort button.
Full Canvas Templates
We also have complete campaign templates that allow you to load high converting campaigns as well as full canvas plans that you have saved onto your canvas quickly and easily.
Saving Your Own Templates
To save an entire plan for use with future clients or even for your team later, just click on the menu toggle on the far right of the screen and select the last menu item "Templates / Export / Sharing".
Once you click into the menu, the first option will be Save Template. Click the save button to save your whole map and plan for later use.
Loading Templates
To load a High Converting Funnel Template or to load a previously saved template of your own, click on the Load button next to the Load Template area in the menu.
This will bring up the template selector you saw the first time you entered your canvas. You can view any of the funnels and campaigns, from the growing list of categories and templates, explanation video and then you can load the template by clicking the Use button on the bottom right of each template.
This will prompt you with a message where you get to decide whether you would like to add the canvas template to your existing plan or whether you would like to overwrite your current canvas with the new template.
If you are adding it to an existing template, you will have the ability to place the starting point exactly where you would like the template to begin to be populated into your current map. If you would not like to have your template load after all, just click the abort button in the top center of the screen.
Conclusion
Now that you know the ins and outs of the canvas, you now have that foundation that will empower you to leverage MarketPlan to it's full potential. Next we'll dive into the canvas apps so you can see how to take your team or client's campaign ideas and turn them into a reality.
Learn more on Youtube here.


